Introduction
Removing wallpaper glue can be a challenging task, especially when preparing your walls for repainting or redecorating. Knowing how to remove wallpaper glue efficiently is crucial to achieve smooth, clean surfaces after peeling off old wallpaper or dealing with leftover adhesive from previous projects.
This comprehensive 2024 guide covers essential tools, proven methods, and expert tips to help you remove wallpaper glue quickly and safely, minimizing wall damage and preparing surfaces perfectly for your next project.
| Category | Details |
| Tools Needed | Scraper or putty knife Sponge or cloth Bucket of warm water Spray bottle Wallpaper removal solution Vinegar or dish soap Protective gear (gloves, goggles) Drop cloth or tarp |
| Methods | Warm Water: Softens adhesive for easy removal. Vinegar Solution: Eco-friendly option to dissolve glue. Commercial Removers: Stronger solutions for tough adhesive. Steam: Effective for stubborn glue spots. |
| Tips and Tricks | Test all solutions on a small area first. Work in manageable sections. Avoid oversaturating walls to prevent damage. Use gentle scraping pressure. Maintain good ventilation during the process. |
| Common Mistakes | Skipping room preparation leading to mess. Excessive use of water causing wall damage. Rushing removal and leaving residue behind. Poor ventilation leading to inhalation of fumes. |
| Post-Removal Care | Inspect and repair wall damage. Prime walls for paint or new wallpaper. Thoroughly clean wall surfaces to remove residue. |
This table summarizes the key factors involved in wallpaper glue removal, offering a quick reference to help you plan your project efficiently.
Understanding Wallpaper Glue
Wallpaper glue (adhesive) comes in different types such as paste-based, peel-and-stick glue, and liquid adhesives. Each type has unique properties impacting how easily it can be removed.
Identifying the adhesive type before beginning is important, as it influences the choice of removal method and tools, ensuring effectiveness and minimizing wall damage.
How to Remove Wallpaper Glue
Removing wallpaper glue involves softening the adhesive, scraping it off carefully, and wall cleaning. Here’s a step-by-step overview of the process:
- Gather all necessary tools and materials.
- Prepare the workspace and protect floors and furniture.
- Select and apply the right glue removal solution.
- Gently scrape off the softened adhesive.
- Clean and rinse the walls thoroughly.
- Allow walls to dry fully before further treatment.
Tools Needed for Removing Wallpaper Glue
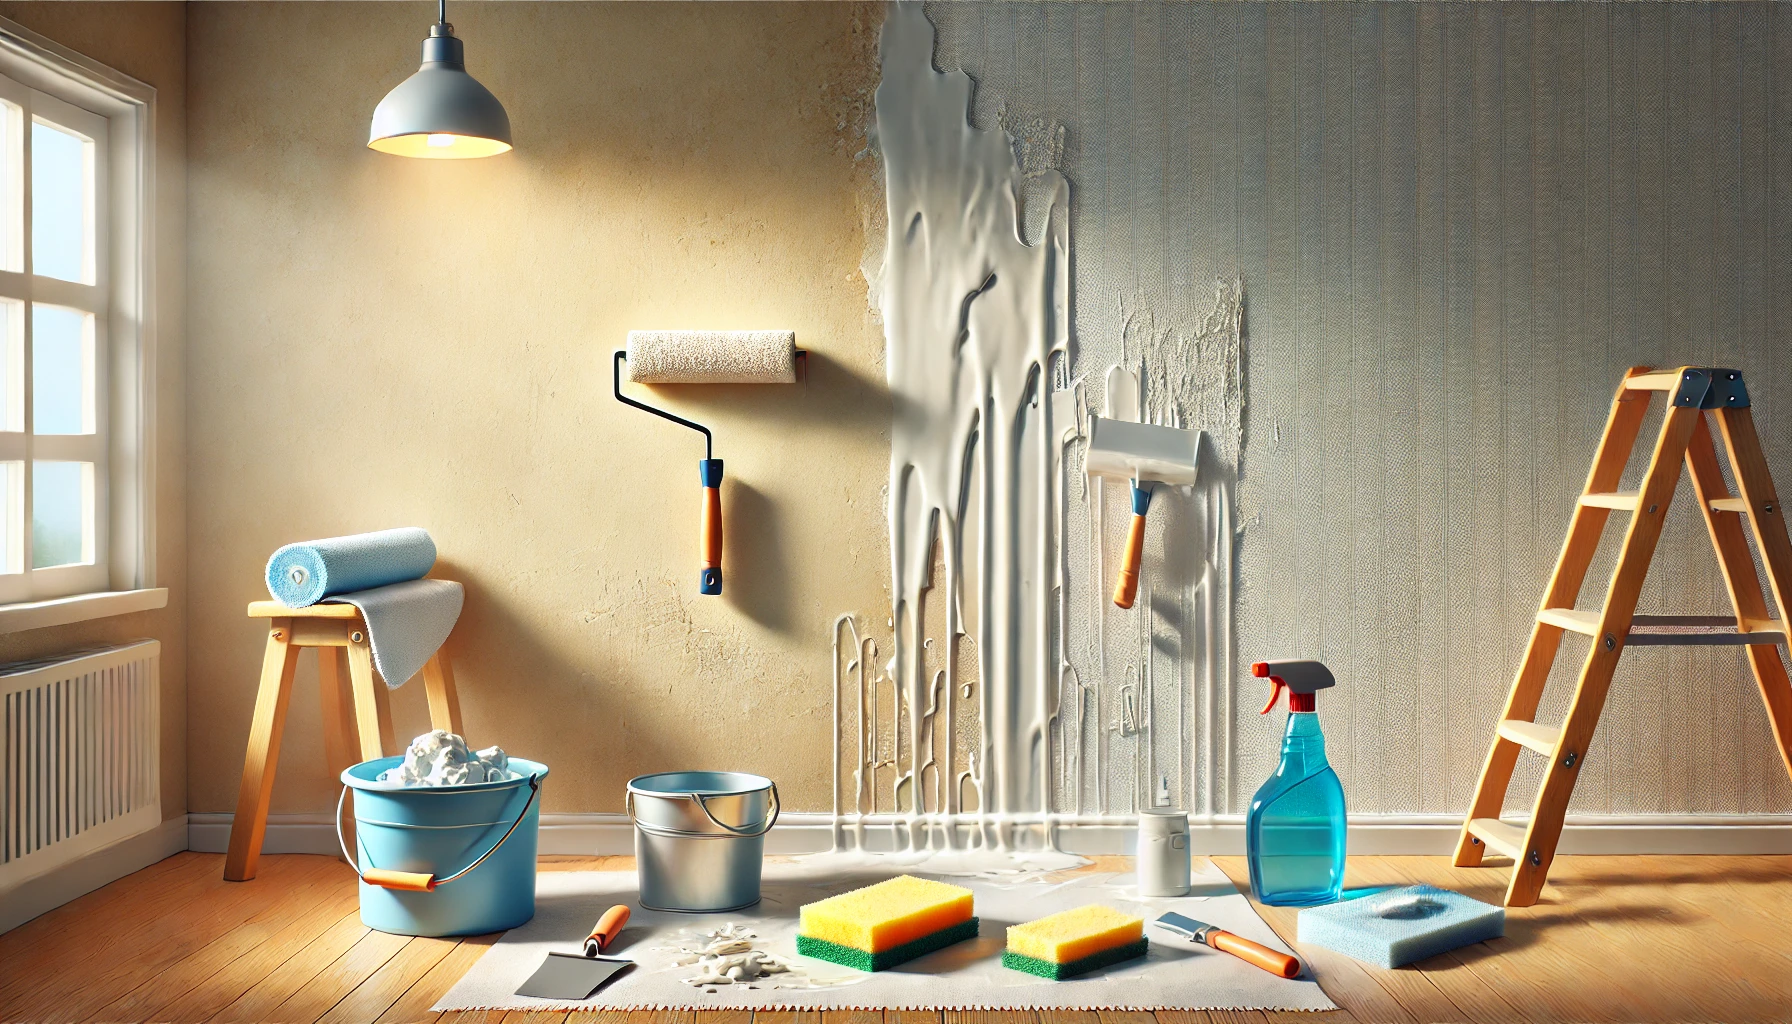
Before starting, ensure you have the following tools ready:
- Scraper or Putty Knife for gentle adhesive removal
- Sponge or soft Cloth for applying solutions
- Bucket for mixing solutions
- Spray Bottle to evenly apply liquids
- Wallpaper removal solution or homemade alternatives
- Protective gear such as gloves and goggles
- Drop cloth or tarp to protect floors
- Fine-grit Sandpaper for post-removal smoothing
Methods for Removing Wallpaper Glue
Choose the adhesive removal method that suits your glue type and wall finish. The following popular methods are effective and widely used:
1. Warm Water and Dish Soap Solution
This gentle and cost-effective method is ideal for water-soluble wallpaper adhesives.
Steps:
- Prepare the Solution: Mix warm water with a few drops of dish soap in a bucket.
- Apply the Solution: Use a sponge or spray bottle to evenly wet the glued area.
- Let It Soak: Allow the solution to sit for 10-15 minutes to loosen the adhesive.
- Scrape Off the Glue: Gently lift the softened glue using a scraper or putty knife.
- Wipe Clean: Wipe the surface with a clean damp cloth to remove residue.
Alternative Heat-Based Techniques
In addition to chemical and natural solutions, heat can be an effective method for loosening stubborn wallpaper glue. Using a handheld heat gun or a steam machine, apply gentle heat to the glued areas in small sections. The warmth softens the adhesive, making it easier to scrape away without excessive force.
When using this method, maintain a safe distance to avoid overheating the wall or causing burns, and always move the heat source continuously rather than holding it in one spot. Heat-based techniques are particularly useful for older glue residues that have hardened over time, allowing for more efficient removal and reducing the need for harsh chemicals.
2. Vinegar Solution
Vinegar is a natural, eco-friendly solution great for breaking down many wallpaper glues, especially starch-based adhesives.
Steps:
- Mix the Solution: Combine equal parts water and white vinegar in a spray bottle.
- Spray the Area: Spray the mixture generously on the wallpaper glue.
- Wait: Let it penetrate for 10-15 minutes to soften the adhesive.
- Scrape Off the Glue: Carefully remove the loosened glue with a scraper.
- Rinse the Wall: Wipe down with a damp cloth to remove any vinegar traces.
3. Fabric Softener Solution
Fabric softener can be surprisingly effective for tough, sticky glue residues.
Steps:
- Create the Solution: Mix one part fabric softener with two parts warm water in a bucket.
- Apply the Solution: Use a sponge or spray bottle to saturate the glue.
- Let It Sit: Allow the solution to soak in for 15-20 minutes.
- Scrape Off the Glue: Gently remove the softened glue with a scraper.
- Clean the Surface: Wipe with a damp cloth to remove residual fabric softener.
4. Commercial Wallpaper Remover
For heavy-duty adhesive or stubborn leftovers, commercial wallpaper removers provide powerful chemical formulas designed to dissolve glue quickly.
Steps:
- Select a Product: Purchase a reputable wallpaper removal solution and check for eco-friendly options if possible.
- Follow Directions: Carefully read and follow all manufacturer instructions for safety and effectiveness.
- Apply and Wait: Apply the remover as directed, allowing sufficient time for glue dissolution.
- Scrape Off Glue: Use a scraper to gently remove the softened glue.
- Rinse Thoroughly: Clean the wall surface to remove any remaining solution residues.
Tips for Successful Wallpaper Glue Removal
Follow these expert tips to ensure your wallpaper glue removal is effective and damage-free:
1. Test a Small Area First
Always try your chosen solution on a small, hidden section of wall to confirm it’s safe and does not cause damage or discoloration.
2. Work in Sections
Break the job into smaller areas to let the solution soak more effectively and to maintain control over the process.
3. Keep the Area Moist
If the glue begins to dry before it’s fully scraped off, reapply your solution to maintain moisture and ease removal.
4. Use Proper Scraping Techniques
Hold your scraper at about a 30-degree angle and use gentle, steady pressure to avoid damaging the drywall or paint.
5. Be Patient
Removing wallpaper glue can take time. Rushing may cause wall damage, so proceed carefully for the best outcome.
Common Challenges and Solutions
Stubborn Adhesive: Reapply your chosen removal solution and allow more soaking time before scraping again.
Wall Damage: If the surface is gouged, fill holes with spackling compound, then sand smooth once dry.
Paint Peeling: This usually results from excessive moisture or aggressive scraping. To prevent this, reduce water usage and scrape gently.
Tools for Post-Removal Wall Preparation
After removing wallpaper glue, prepare your walls for new paint or wallpaper with these essential tools and materials:
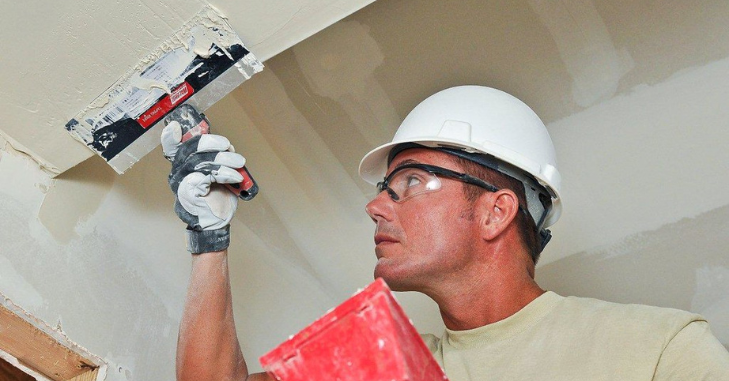
· Spackling Compound
Fill any holes or gouges with spackling compound and let it dry completely before sanding smooth.
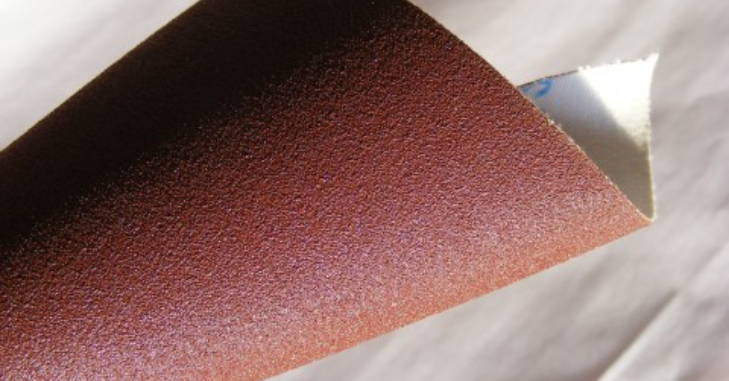
· Sandpaper
Use fine-grit sandpaper to smooth repaired spots and remove any remaining adhesive residue for a flawless finish.
· Primer
Applying primer to the walls ensures a uniform base and better adhesion for paint or new wallpaper, especially after repairs or stains.
· Paint or New Wallpaper
Once walls are clean and prepped, you’re ready to refresh your space with paint or new wallpaper of your choice.
Environmental Considerations
When removing wallpaper glue, prioritize environmentally-friendly products and disposal methods. Natural options like vinegar or fabric softener reduce chemical exposure and environmental impact.
If using commercial removers, follow local regulations for disposal to minimize environmental harm.
Conclusion
Removing wallpaper glue properly is essential for achieving a smooth, clean wall ready for decorating. Utilizing the right tools and methods—whether natural solutions or commercial products—combined with patience and care will help you remove adhesive effectively without damaging your walls.
Following this updated 2024 guide equips you to transform your space effortlessly, making way for fresh paint or new wallpaper that complements your home’s style beautifully.
For more helpful home improvement tips, especially about How to Spot Solar System please check out our “Home Improvement” category.
FAQs
The best method depends on the type of wallpaper adhesive. Warm water with soap works well for water-soluble glue. For tougher adhesives, vinegar, fabric softener solutions, or commercial wallpaper removers are effective. Testing a small hidden area first is always recommended.
Generally, letting the solution sit for 10 to 20 minutes helps loosen the adhesive. The exact time varies depending on the glue’s type and thickness.
If glue remains, reapply the removal solution and allow it to soak longer before scraping again. Tough adhesives may require repeating this process several times for complete removal.
Yes, using a wallpaper steamer is an effective and chemical-free way to loosen stubborn wallpaper glue. Steam softens the adhesive, making it easier to scrape off without damaging surfaces.
Avoid oversaturating walls with water or remover and use gentle scraping motions. Work in small sections, keeping the surface moist but not wet, to reduce paint peeling risk.