Introduction
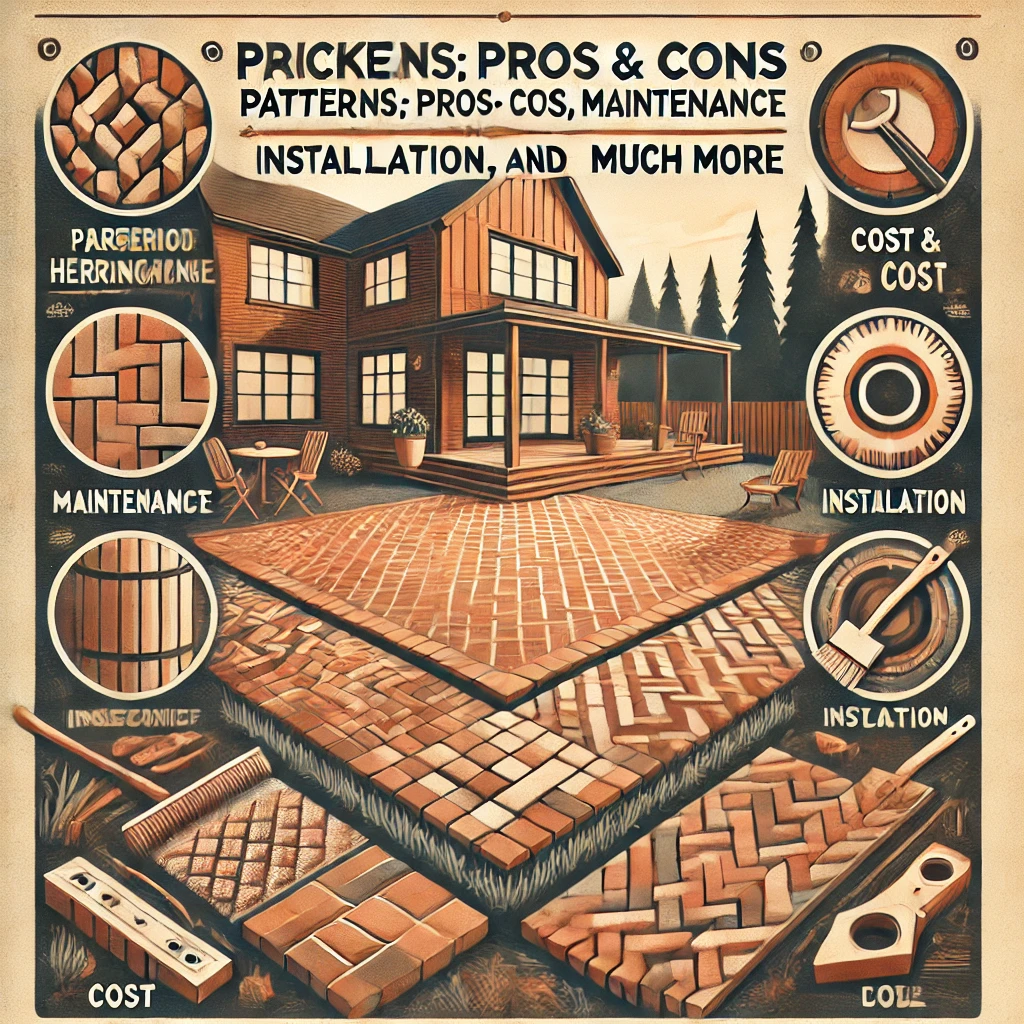
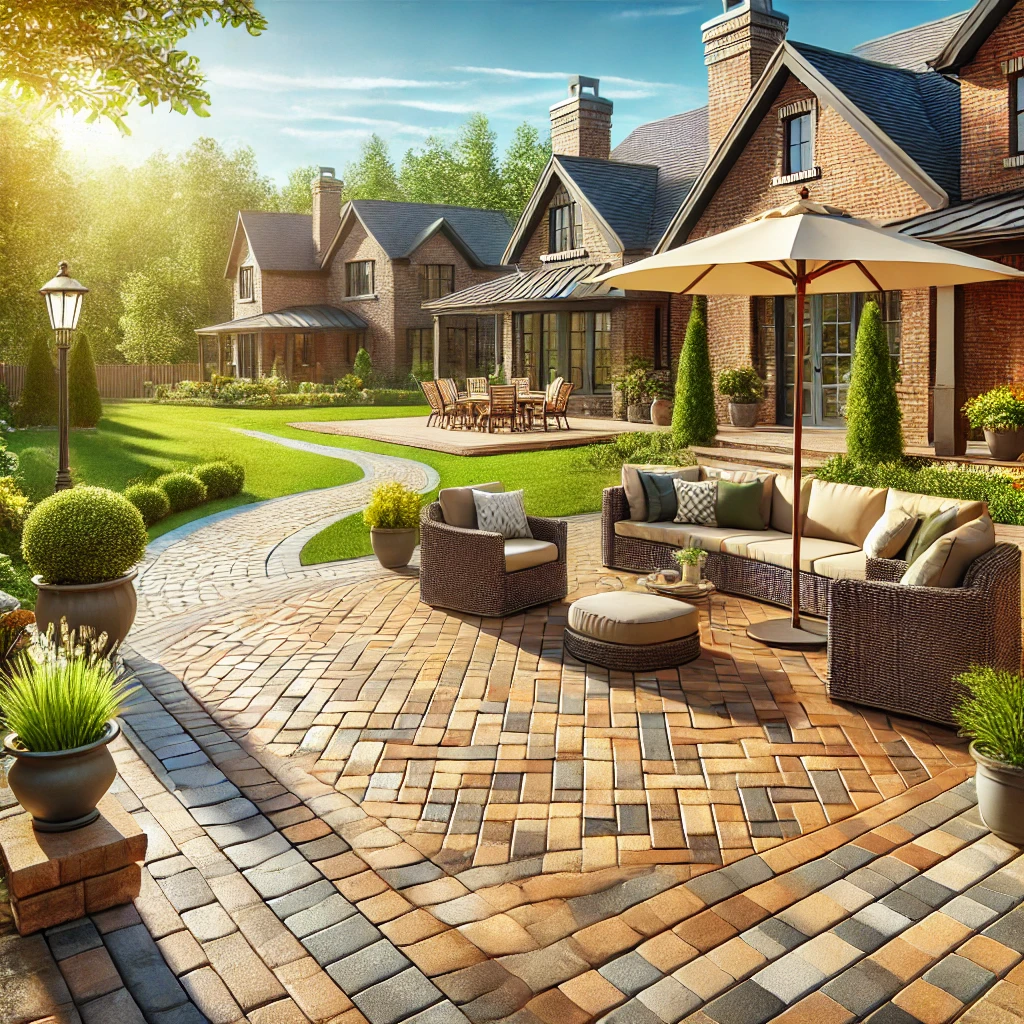
A brick paver patio adds style and durability to any outdoor space. With various brick paver patio designs like running bond and herringbone patterns, you can easily customize the layout to fit your style and landscape.
Key steps for brick paver patio installation include marking the layout, excavating, adding base layers, and laying pavers for a smooth, level patio. Tips on brick paver patio maintenance and repair, like regular cleaning, re-sanding joints, and weed control, ensure your patio stays beautiful year-round.
Whether DIY or hiring a pro, a brick paver patio enhances your outdoor space with long-lasting charm and functionality.
Why Choose Brick Paver for Your Patio?
Brick pavers offer several advantages, making them a popular choice for outdoor patios. Here’s why they’re worth considering:
- Durability: Brick pavers withstand weather changes and heavy use, lasting for decades without cracking.
- Aesthetic Appeal: They come in various earthy colors, like red, brown, and gray, adding a timeless look to your patio.
- Eco-Friendly: Brick is a natural material that requires less energy to produce and can be recycled or repurposed.
- Low Maintenance: Brick pavers don’t fade in the sun and require minimal upkeep compared to concrete.
Planning Your Brick Paver Patio
Decide on the Size and Layout
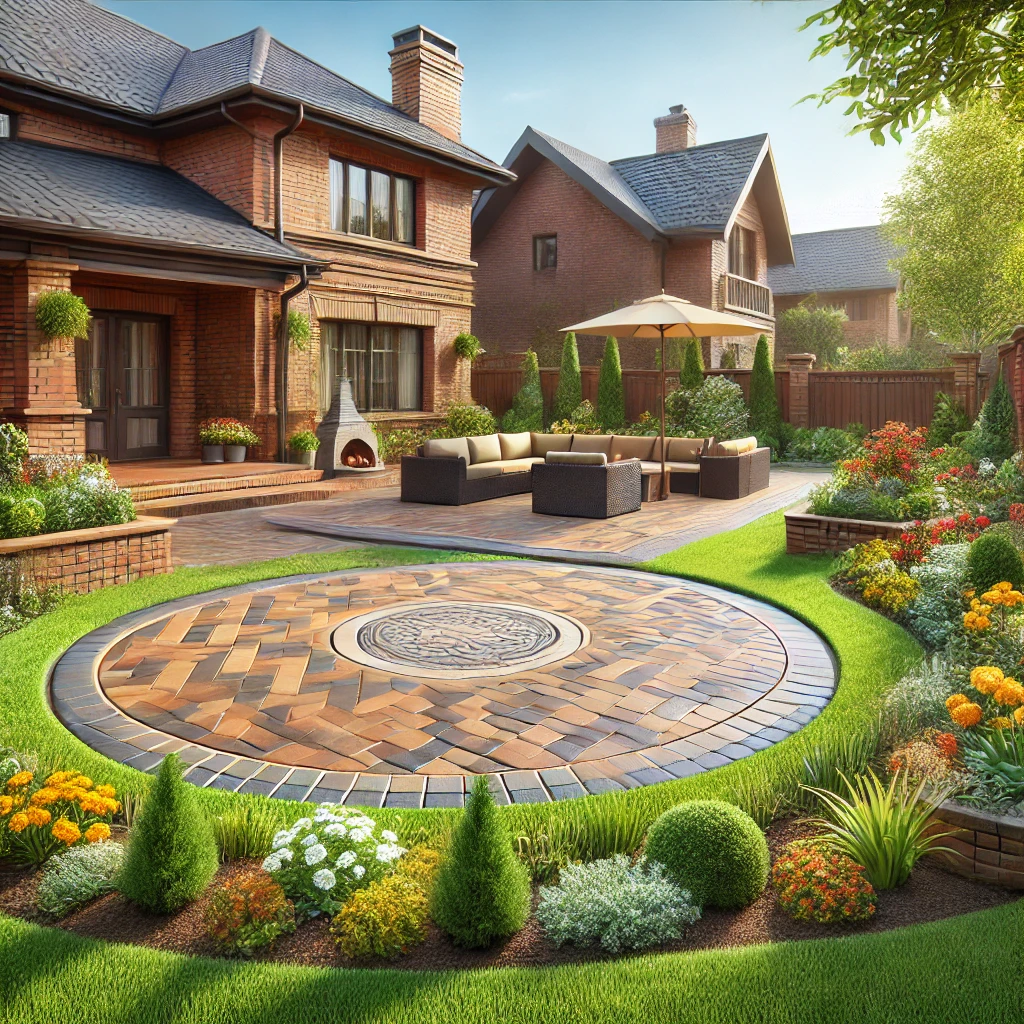
Before starting, decide on the size and layout of your brick paver patio. Measure the space and consider its intended use. Small patios work well for intimate gatherings, while larger spaces are ideal for outdoor dining and hosting guests. The most popular patio sizes range from 100 to 150 square feet.
Select the Perfect Brick Pavers
Choosing the right brick pavers is crucial for achieving the look and durability you want. Consider the following options:
- Classic Bricks: These are usually rectangular and available in standard sizes (4×8 inches).
- Modular Pavers: Available in various sizes, modular pavers can create intricate designs and patterns.
- Permeable Pavers: Ideal for areas prone to heavy rain, permeable pavers allow water to drain through the joints, reducing runoff.
Prepare the Tools and Materials
Here are some of the right tools and materials that ensure a smooth installation process. You’ll need:
- Shovel
- Wheelbarrow
- Garden rake
- Rubber mallet
- Level
- Compactor
- Pavers
- Edging materials
- Coarse sand
- Base material (gravel)
How to Install Your Brick Paver Patio
Once you have your layout, tools, and materials, you can start building. Here are some steps to follow:
Step 1: Mark the Layout and Excavate
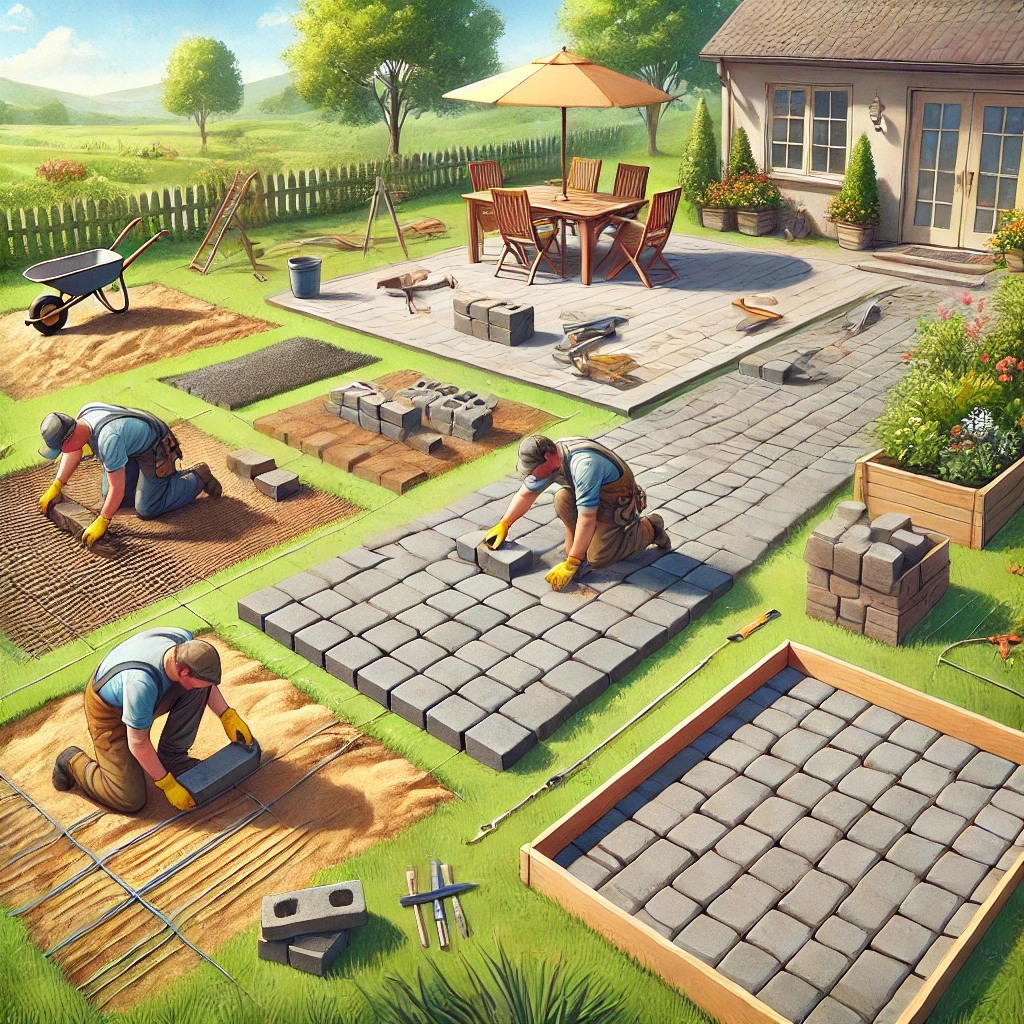
Mark the area where you want to install the patio using stakes and mason’s line. Excavate the ground to a depth of about 8 inches, allowing room for the base layer, sand, and pavers. Slope the area slightly to ensure water drainage away from your home.
Step 2: Install the Base Layer
To create a stable foundation, spread a 4-inch layer of gravel across the excavated area. A compactor will be used to compact the gravel firmly, which will support the pavers and prevent sinking over time. For best results, create a slight slope to allow water to run off easily.
Step 3: Add a Layer of Sand
Once the base is compacted, spread a 1-inch layer of coarse sand over the gravel. Smooth the sand with a 2×4 board to ensure an even surface. The sand layer will act as a cushion and help lock the pavers in place.
Step 4: Lay the Pavers
Now it’s time to lay the brick pavers in your chosen pattern. Begin at one corner and work outward, pressing each paver into the sand gently. Use a rubber mallet to tap each paver into place, ensuring they’re level and aligned. Popular patterns include:
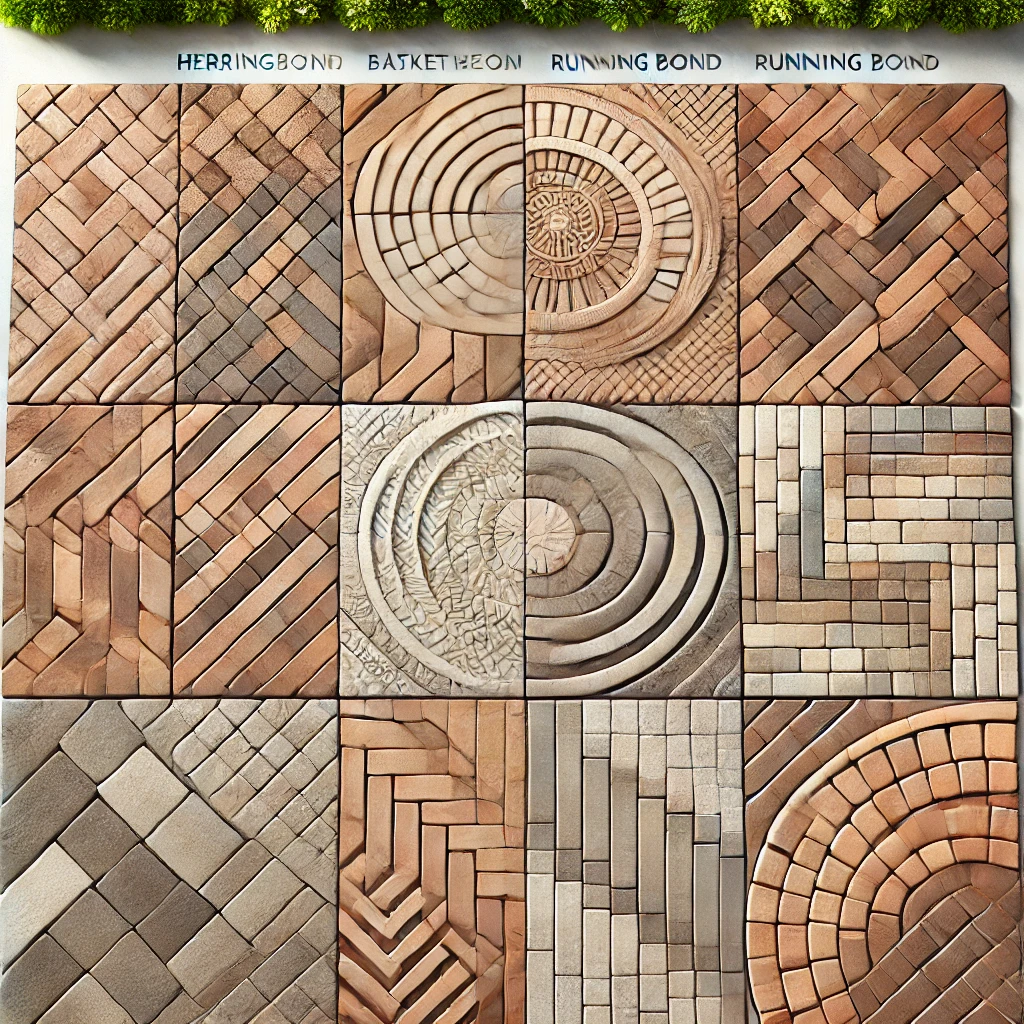
- Running Bond: Bricks are laid in a staggered pattern for a classic look.
- Herringbone: A V-shaped pattern that’s visually appealing and sturdy.
- Basket Weave: Creates a checkerboard effect with pairs of pavers placed at right angles.
Step 5: Install Edging
Install edging around the perimeter of the patio to prevent the pavers from shifting over time. You can use plastic, metal, or more pavers for edging. Secure the edging with spikes to keep it in place.
Step 6: Fill in the Joints with Sand
Sweep fine sand across the patio, filling in the joints between pavers. Polymeric sand is an excellent choice because it hardens when moistened, helping to lock the pavers in place and prevent weed growth. Mist the patio with water to activate the polymeric sand and secure the pavers.
Different Brick Paver Patterns
Choosing the right pattern for your patio affects not only its appearance but also its durability. Here are some popular options:
- Running Bond: Easy to install, this classic pattern offers a traditional look.
- Herringbone: Known for its strength, the herringbone pattern is ideal for high-traffic areas.
- Basket Weave: Adds a unique checkerboard effect, best for a casual, rustic look.
Enhancing Your Brick Paver Patio with Accessories and Lighting
To elevate both the functionality and ambiance of your brick paver patio, consider adding accessories and lighting elements. Outdoor rugs, planters, and seating arrangements can define different areas, making the patio feel like an extension of your indoor living space. Installing solar or LED pathway lights along the edges highlights the paver patterns and ensures safe movement at night, while string lights or lanterns create a cozy, inviting atmosphere for gatherings.
Incorporating a fire pit or water feature further enhances the patio’s appeal, turning it into a versatile space for relaxation, entertainment, and year-round enjoyment.
Pros and Cons of a Brick Paver Patio
Pros
- Longevity: High-quality brick pavers can last up to 100 years with proper care.
- Minimal Maintenance: Routine cleaning with a broom and occasional re-sanding are all that’s needed.
- Weather-Resistant: Brick pavers do not fade and withstand temperature fluctuations well.
Cons
- Higher Initial Cost: Brick pavers are generally more expensive than concrete.
- Limited Design Options: Unlike concrete pavers, bricks come in fewer colors and shapes.
- Potential Weed Growth: Weeds can grow in the joints if the pavers are set in sand rather than mortar.
Tips for Maintaining Your Brick Paver Patio
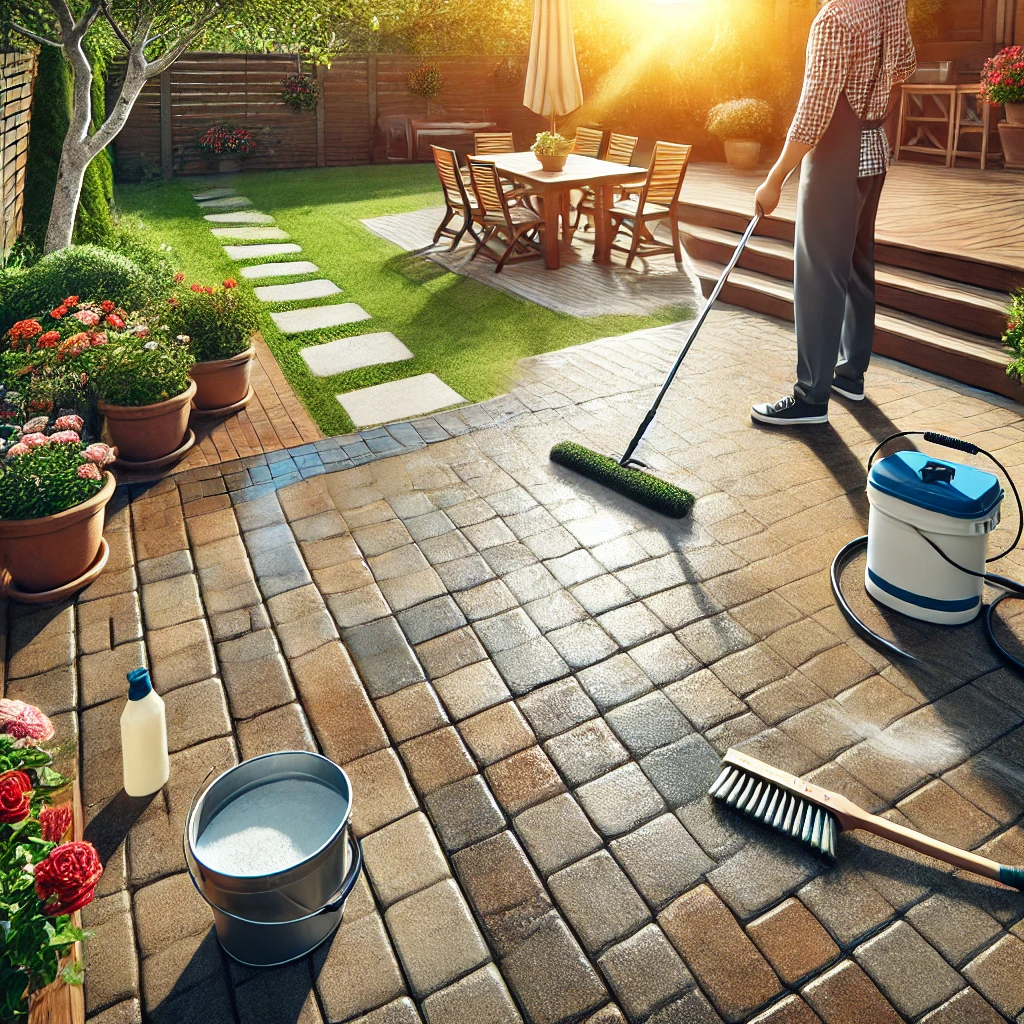
To keep your brick paver patio looking its best, follow these maintenance tips:
- Regular Cleaning: Sweep the patio regularly to remove dirt, leaves, and debris.
- Pressure Washing: Use a pressure washer for a deep clean to remove stubborn stains.
- Re-sand the Joints: Every few years, add more sand to the joints to maintain stability.
- Weed Control: If weeds appear, pull them or apply a weed killer to prevent them from spreading.
Costs of Building a Brick Paver Patio
The cost of building a brick paver patio varies depending on the size, paver type, and labor. On average, expect to spend:. For the full picture, read What to Expect and How Much Does it Cost?.
- Materials: $2.50 to $6 per square foot, depending on the type of brick paver.
- Labor: $10 to $30 per square foot, including materials and installation.
DIY vs. Hiring a Professional
Building a brick paver patio can be a rewarding DIY project, but larger patios or complex designs may require professional assistance. Hiring a pro ensures a high-quality result, especially if mortar is used for added stability.
Conclusion
A brick paver patio offers an elegant and durable solution for enhancing outdoor spaces. While it requires upfront planning and careful installation, the timeless beauty and longevity of brick pavers make it a worthwhile investment. Whether you opt for a DIY approach or hire a professional, a brick paver patio will bring charm and functionality to your outdoor living area for years to come.
Apart from that if you want to know about “The Beauty and Benefits of Cedar Wood Fence Installation” then please visit our “Home Improvement” Category.
FAQs
With proper maintenance, a brick paver patio can last for 25 to 100 years.
Brick pavers come in two main thicknesses: 2 3/8 inches (60mm) for driveways or high-traffic areas and 1 1/4 inches (30mm) for patios or pedestrian paths.
Like all pavers, brick pavers can absorb heat and get warm in direct sunlight, especially in warmer climates.